
Action: Rolling with foam rollers is a kind of massage, when you roll over various areas of your body using our bodyweight, which brings the connective tissue and muscular release (self-myofascial release). Rolling means slow and fluent multi-directional motions. You should stay for 20-30 seconds in tight or painful areas, letting your bodyweight work, or change the position to increase the press slightly and should rotate a bit in a sore area. In the beginning you can feel the massage in some areas a bit painful. You should learn to listen to your body to distinguish if the pain is sharp and dart. This kind of pain needs medical treatment. The massage helps if the pain signalizes tissue stiffness. This kind of pain finally disappears if you perform massage in the long term. The massage of the whole body is time consuming, but you can focus on one or two smaller areas of the body, which are stiffed more, after each workout. Remember to breathe regularly as performing the massage, do NOT hold breath. You can use any roller, they differ in their length and firmness. If possible, choose a less firm roller first and gradually adapt for firmer ones and the ones with a coarsen surface.
Modification 1: foot massage
Place one foot on the roller (photo 1) and roll over the foot. Because of the size, the foot massage is better to perform with a small ball. Start pushing the heel into the ball (photo 2) and then roll forward toward particular toes separately (photo 3-4) and back. As rolling, you can stop in a tender place, letting your bodyweight work, or move the foot over the roller to the sides with the heel on the ground (photo 5) or slightly off.
Modification 2: calf massage
Sit with the legs positioned on top of the roller parallel or crossed (photo 6) and roll slowly. You can increase the press, if sitting off the ground, the legs parallel photo 7) or crossed (photo 8). The easier position is to sit with one leg other roller and the other bent with the foot on the ground. Stay in areas of tightness and rotate at ankle (photo 9) or move the calf over the roller to the sides and multi-directionally (photo 10-12).
Modification 3: shin and peroneal massage
Position your shins on top of the roller (photo 13) and use the weight of your body to slowly roll back and forth over it. The easier position is to kneel down, one shin on the roller (photo 14). Then sit and place the peroneal area on the roller, roll the peroneal area over the roller multi-directionally (photo 15).
Modification 4: back and outer thigh massage
Sit with the thighs on the roller (photo 16) and slowly roll back and forth over it. The back thigh is a big area, so divide it into two halves and roll the area near the knee joint first and then roll the upper area. The outer thigh is a problematic and highly stiff, painful area in most people. Divide this area into two parts too and focus on the lower (more painful) area first, then continue rolling the upper area (photo 17). Roll really slowly, stay longer and use multi-directional motions.
Modification 5: front and inner thigh massage
Position yourself on top of the roller with the quadriceps on it (photo 18) and slowly roll back and forth over it. The area is big, so divide it into two parts and roll over the lower area, then the upper one. The easier position is with one leg bent and positioned on the ground (photo 19). Next place the roller under the inner area of the thigh (photo 20) and roll near the knee first and closer to the hip later.
Modification 6: buttock massage
Sit on top of the roller (photo 21). You can cross your legs to increase the press, if necessary (photo 22). Here you can find another problematic zone – the deep rotators of the hip joints placed in the pelvic floor – it is more effective to massage it with a small ball (photo 23). The motions should be tiny. The firmer the ball is, the deeper it works.
Modification 7: back massage
Sit with the roller positioned just above the low back (photo 24), roll the low area of the back forth and back over it, and to the sides (photo 25-16). Next roll the upper area of the back (photo 27). The easier position is with the arms folded over your chest (photo 28).
Modification 8: torso, arm and neck massage
Lie on the side on the roller and roll the side of your torso as far as the armpits (photo 29). Place the roller under the arm and its back area (photo 30). Lie on the stomach with the roller under the arm and roll the front area of the arm (photo 31). Lie on your back, the roller under the neck (photo 32) and slowly turn your head to the sides (photo 33-34), and use small multi-directional motions. The area of the shoulder can be massaged with a small ball (photo 35-36).
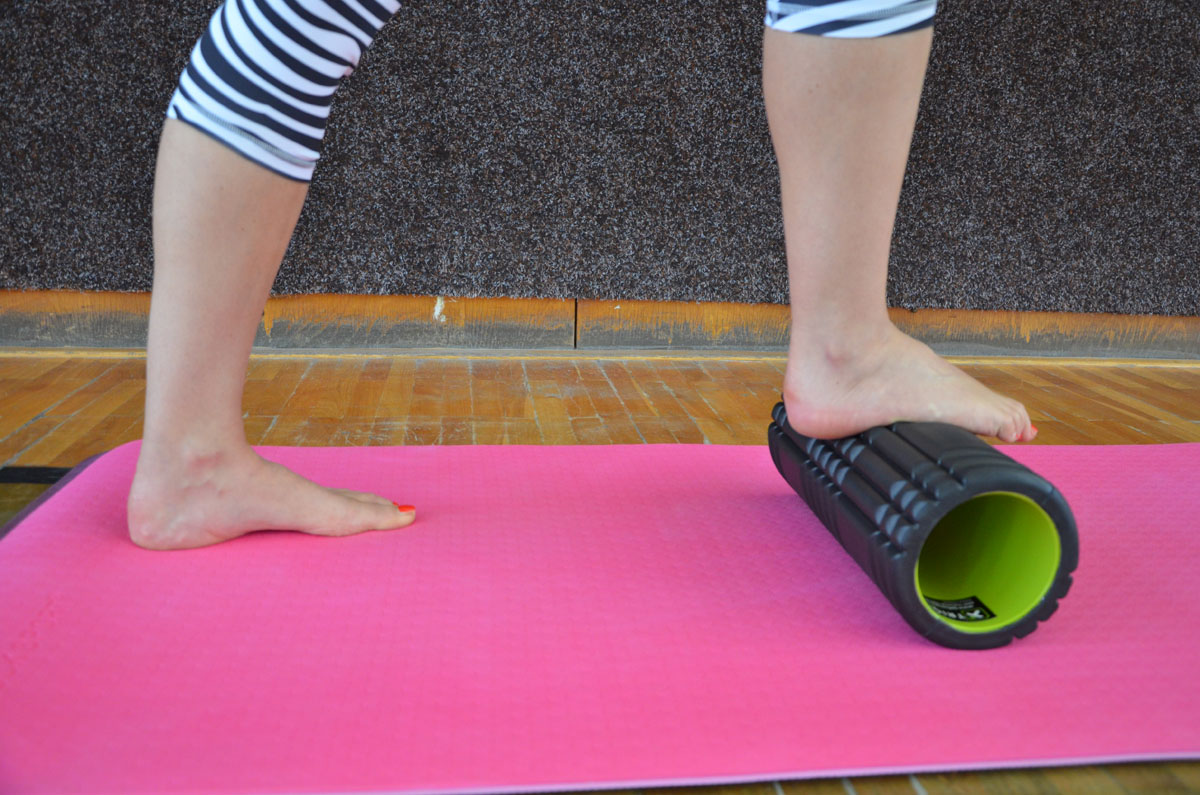 photo 1
 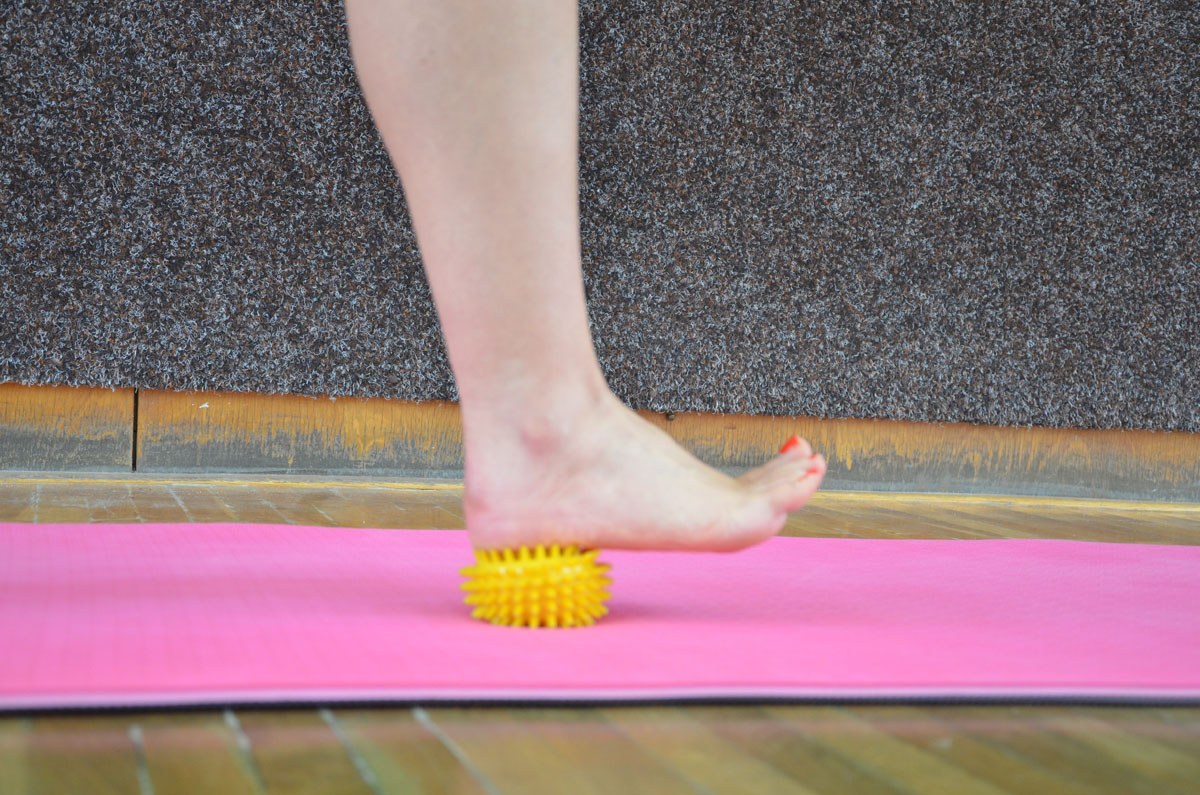 photo 2
 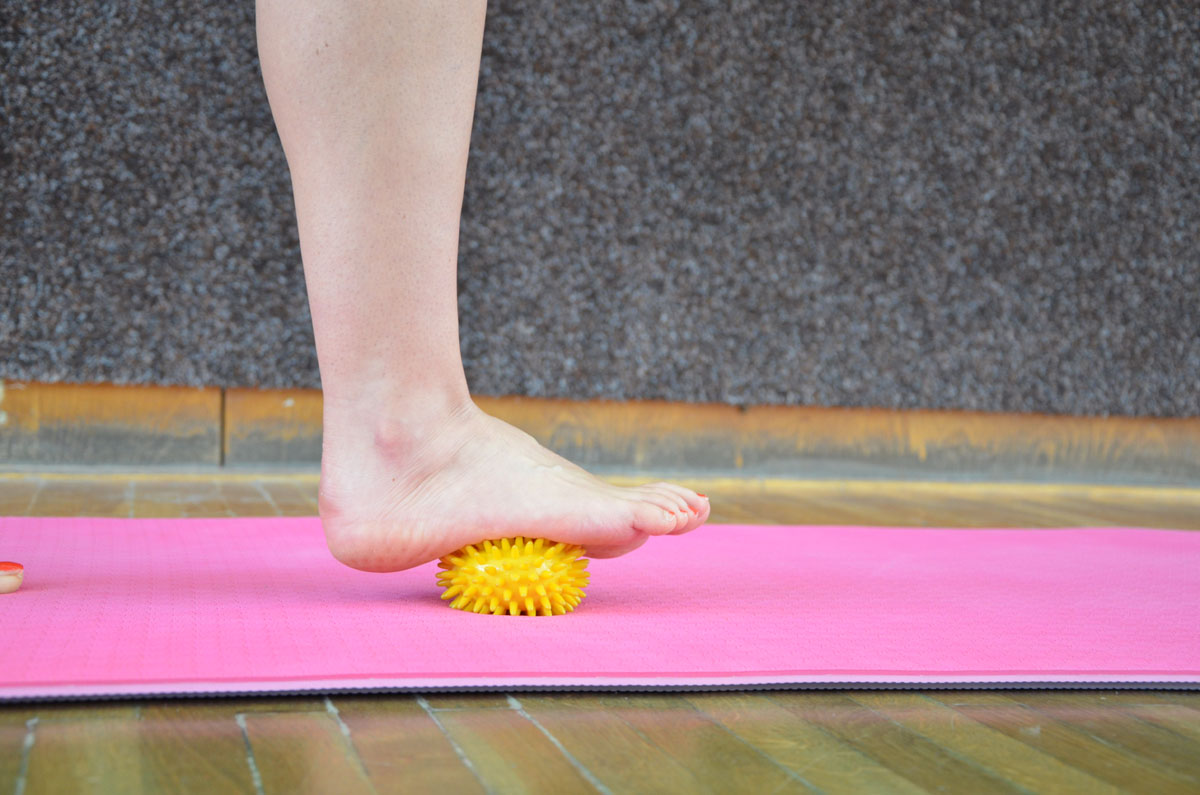 photo 3
 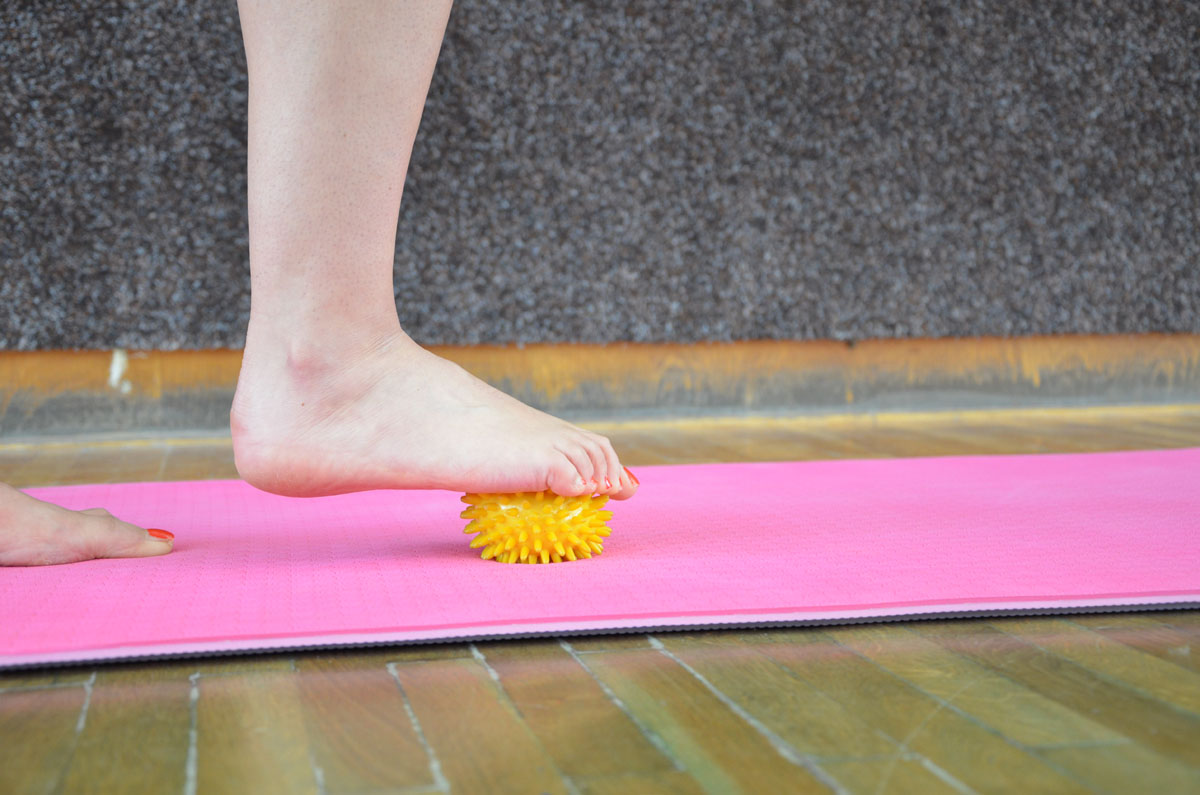 photo 4
 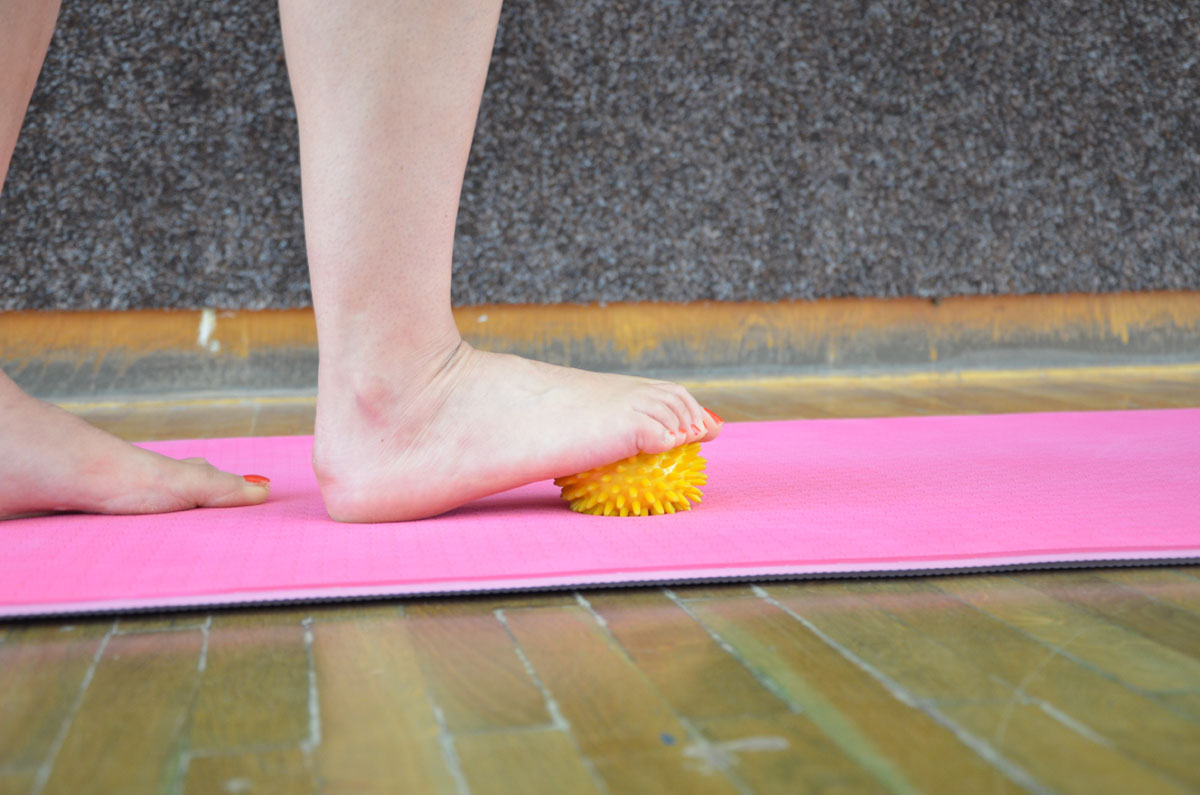 photo 5
 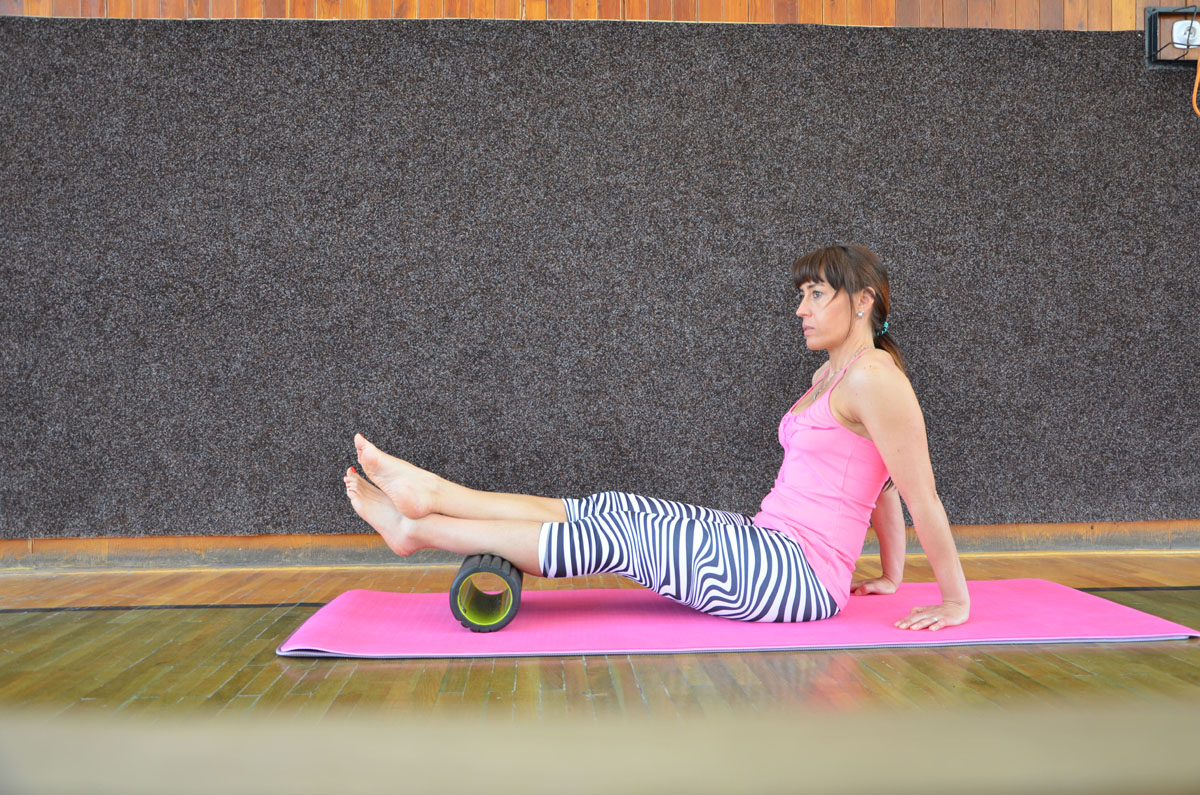 photo 6
 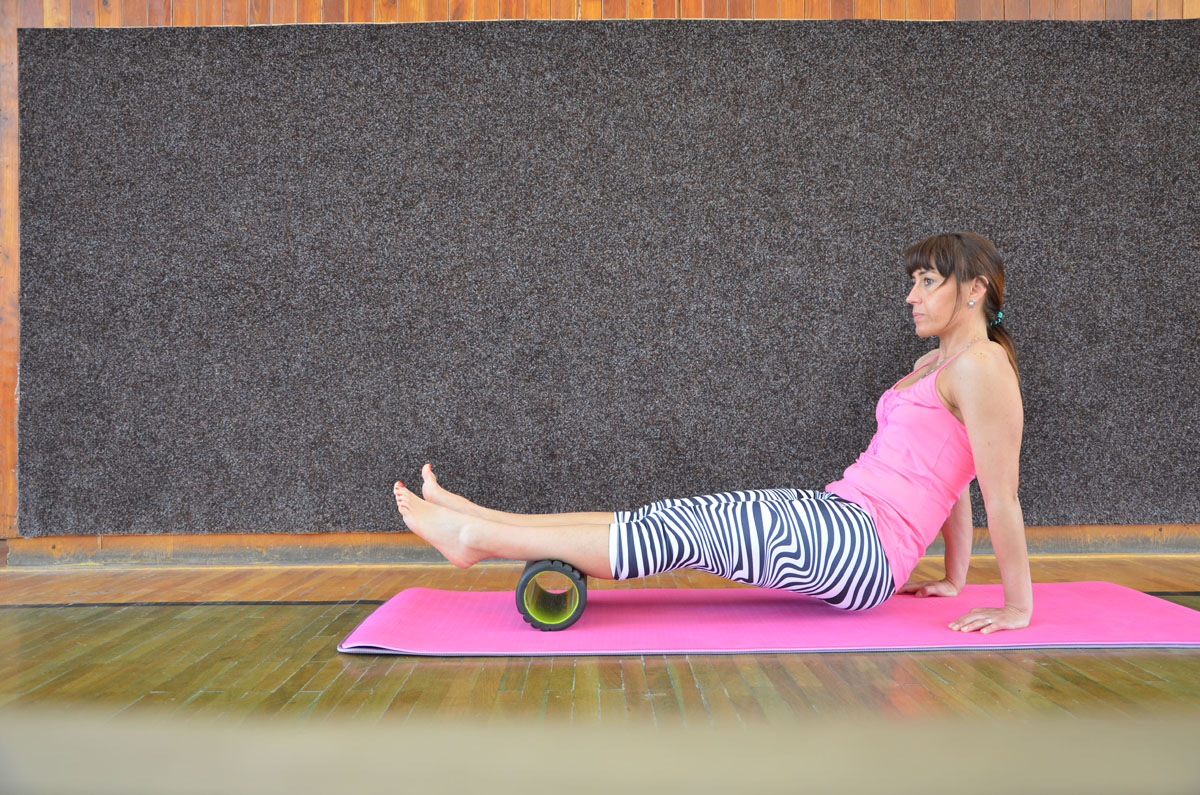 photo 7
 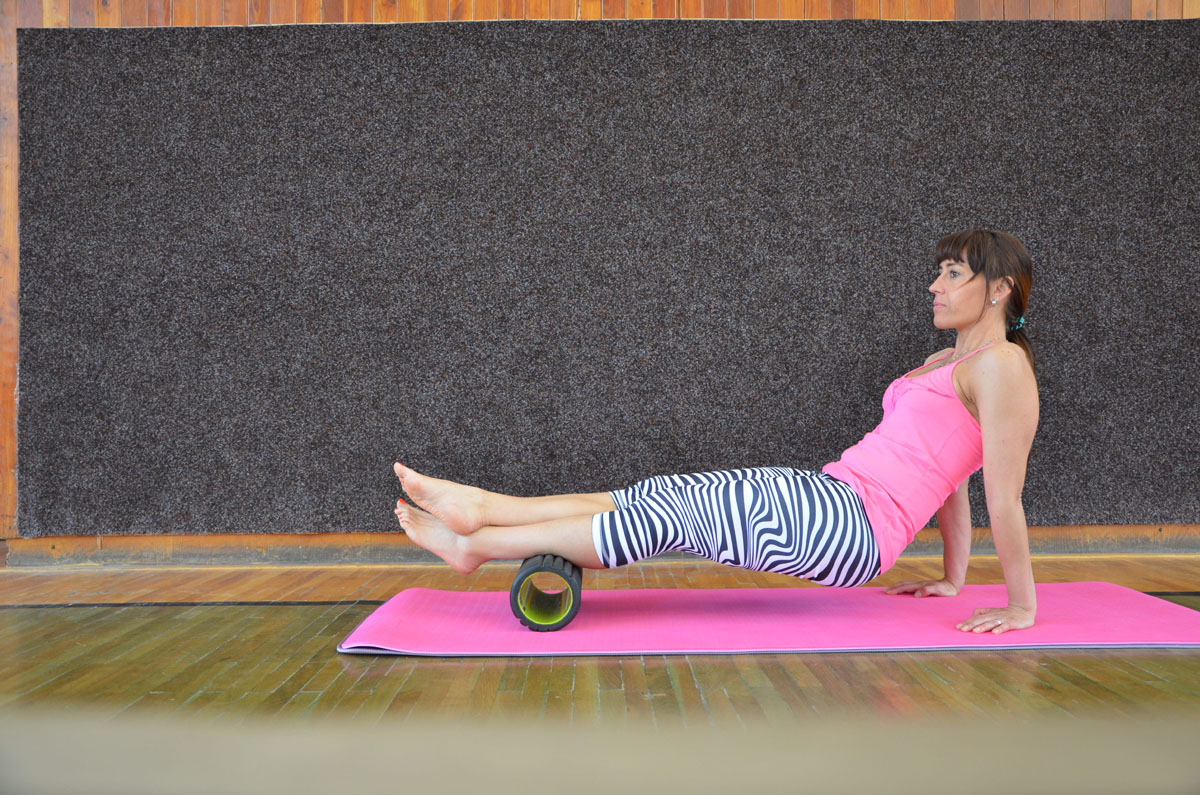 photo 8
  photo 9
 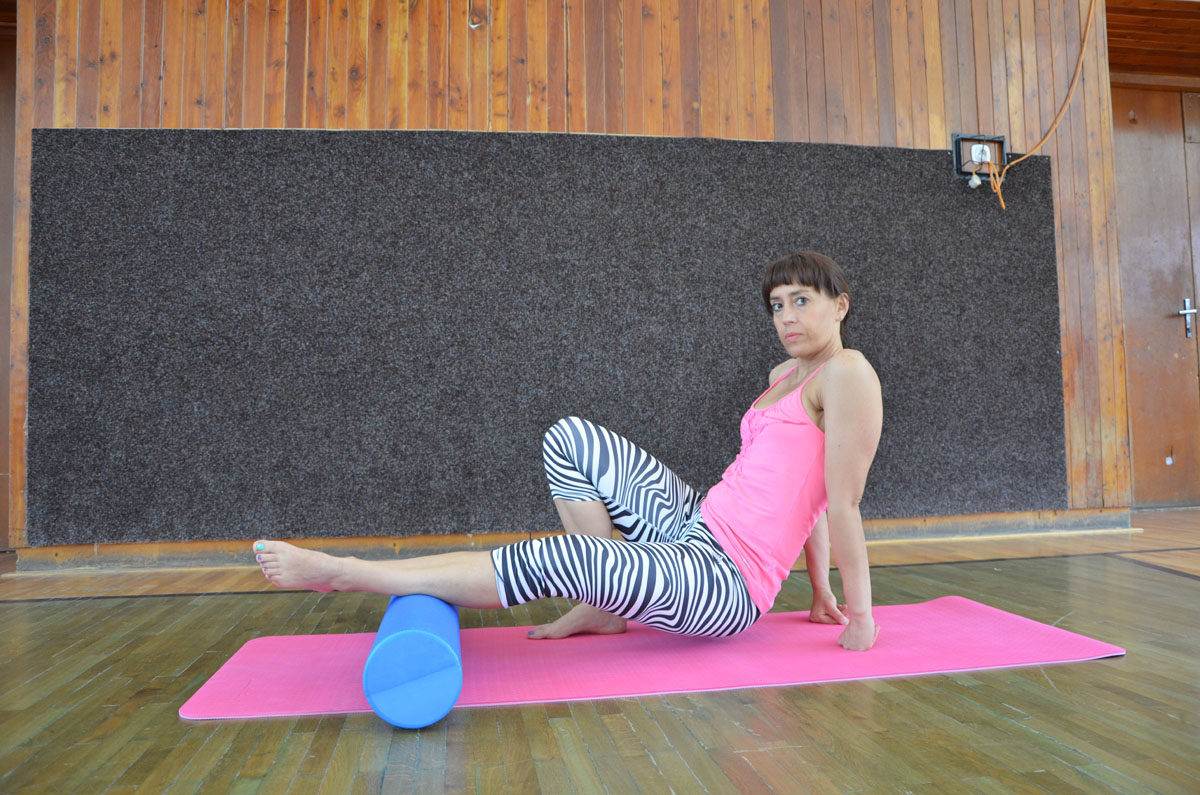 photo 10
 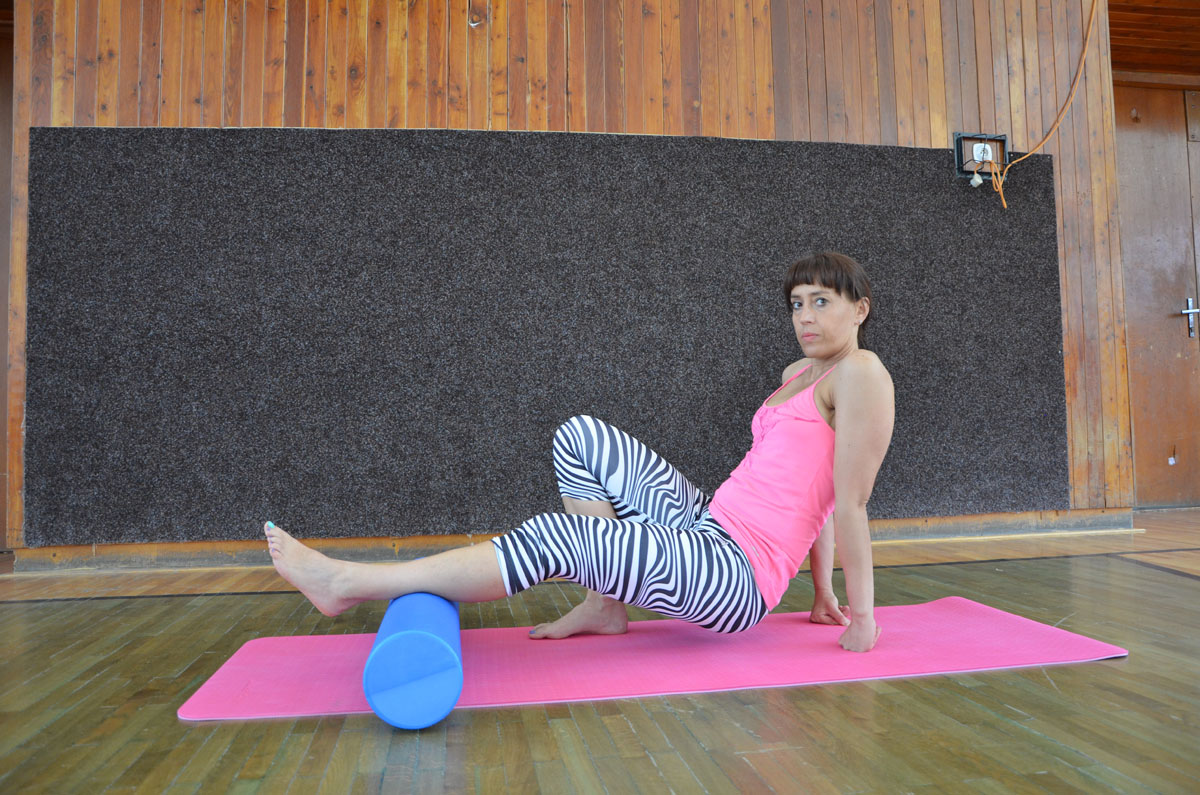 photo 11
 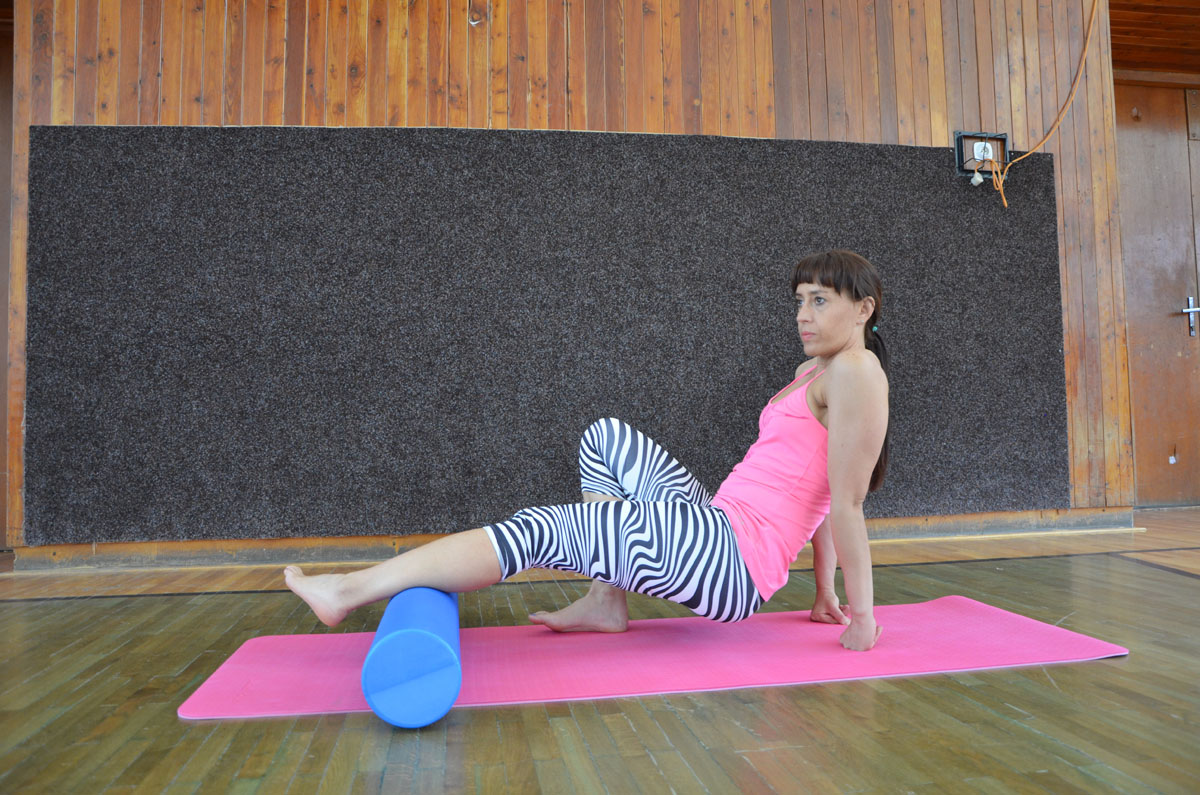 photo 12
 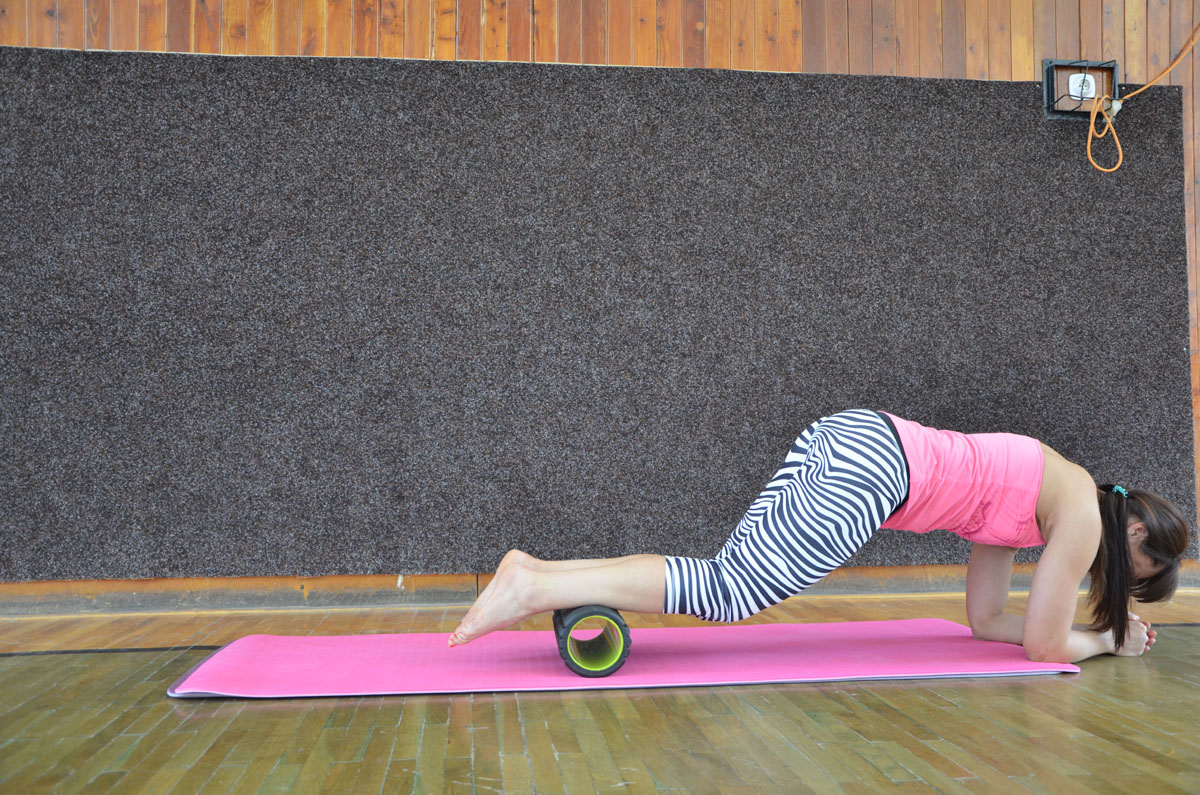 photo 13
 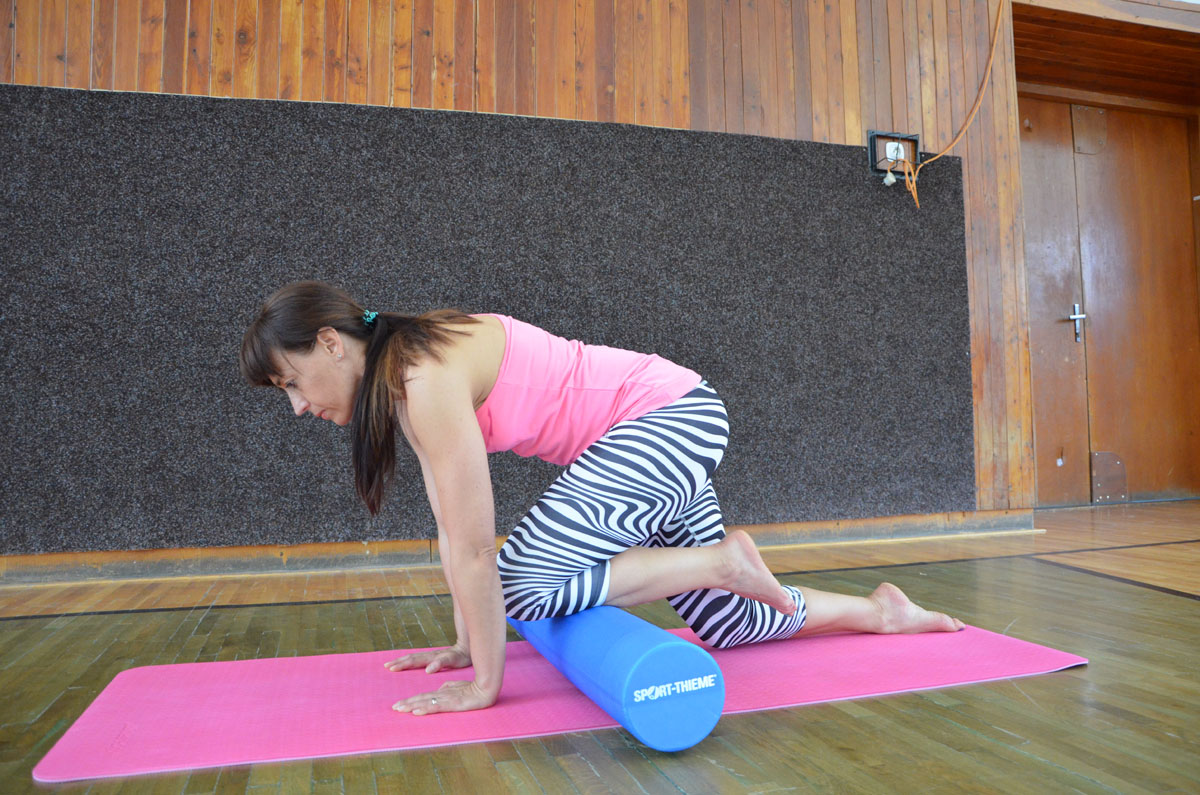 photo 14
 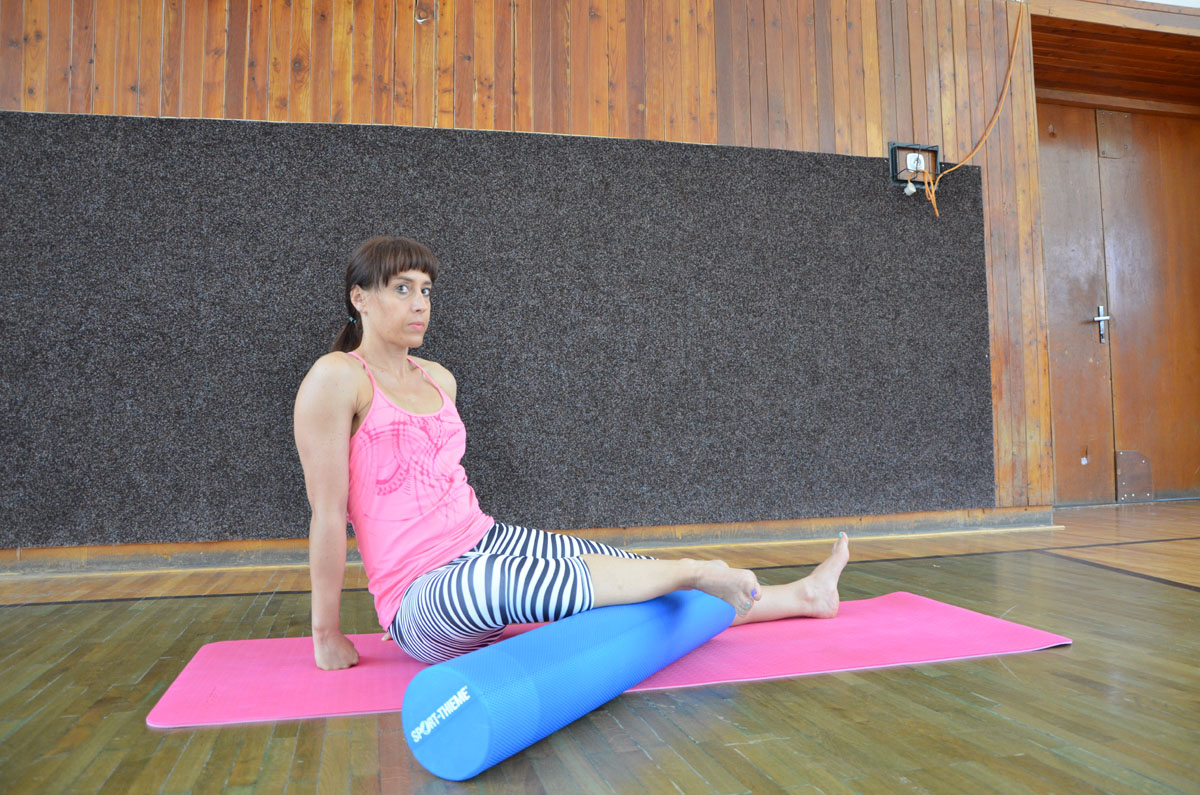 photo 15
 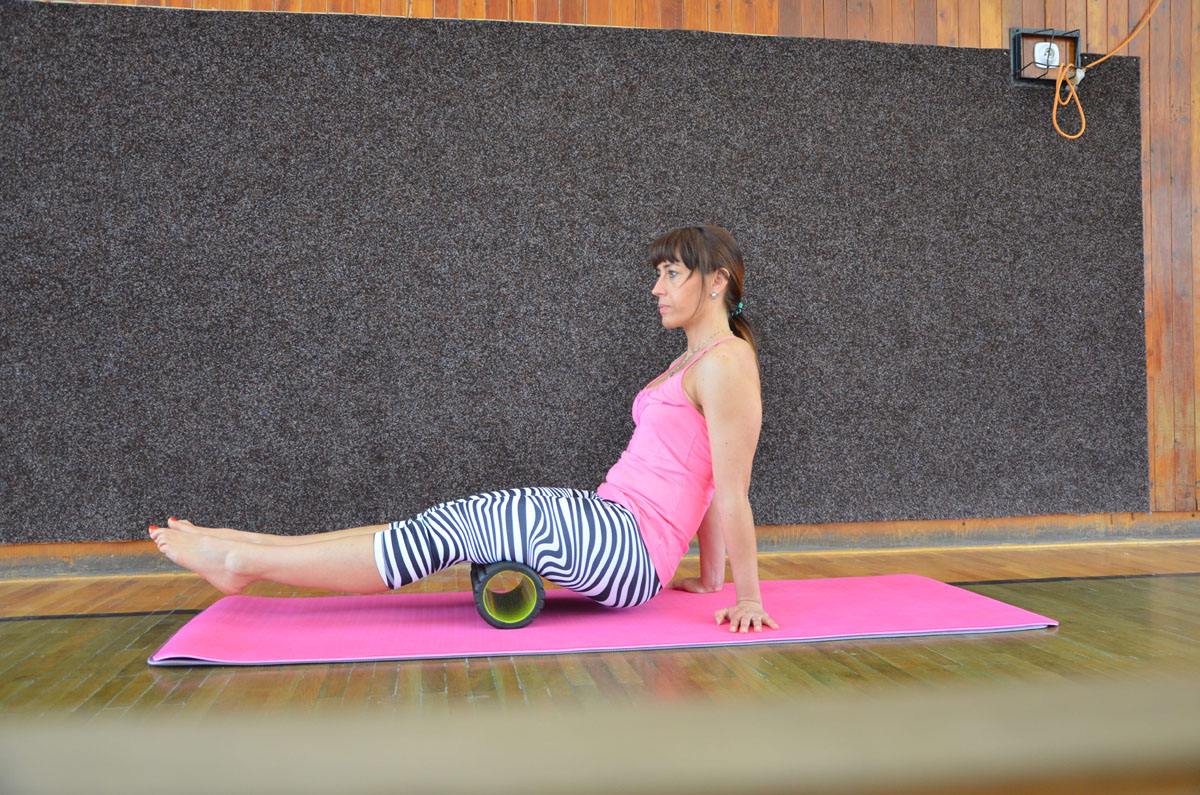 photo 16
 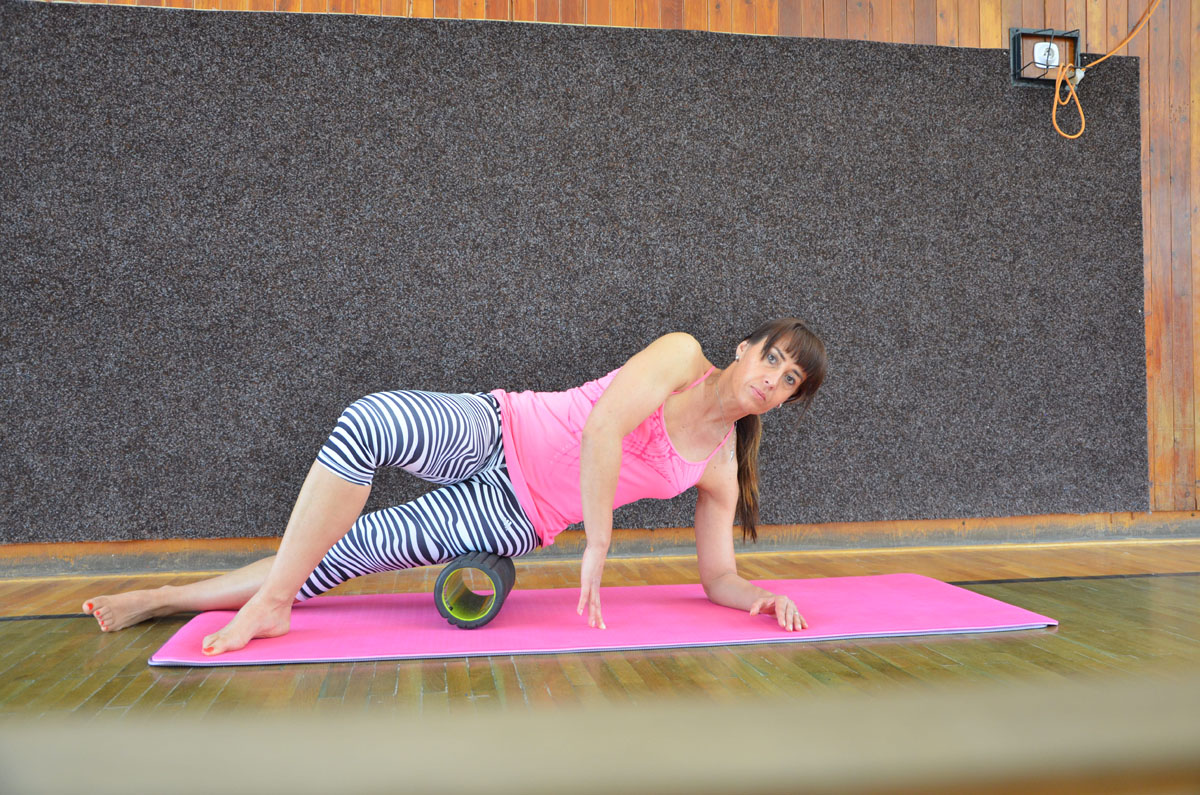 photo 17
 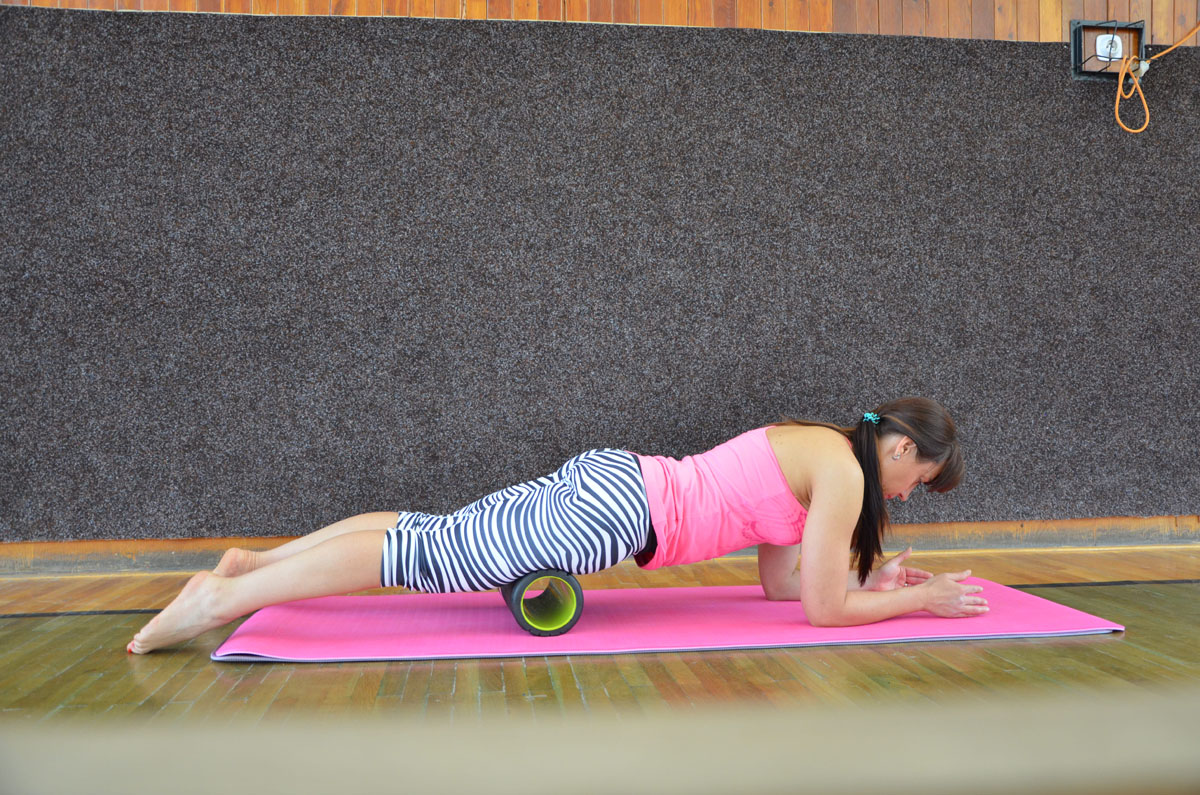 photo 18
 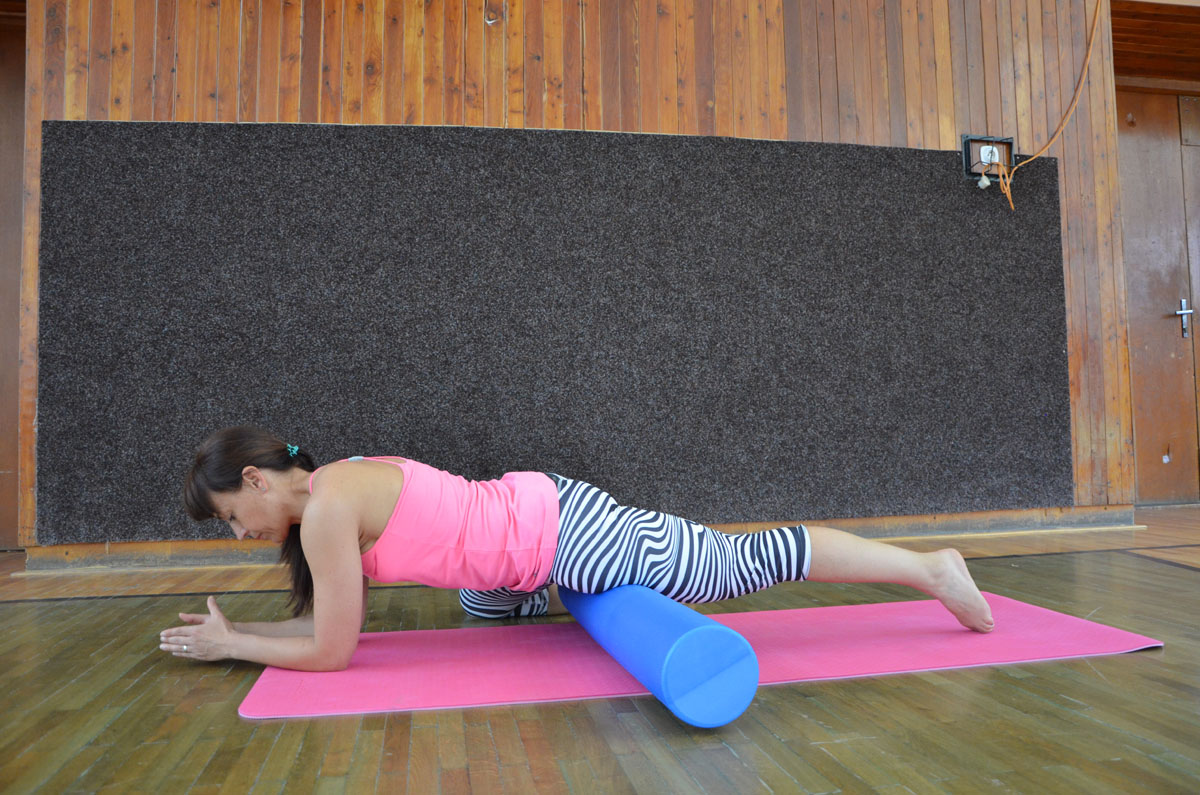 photo 19
 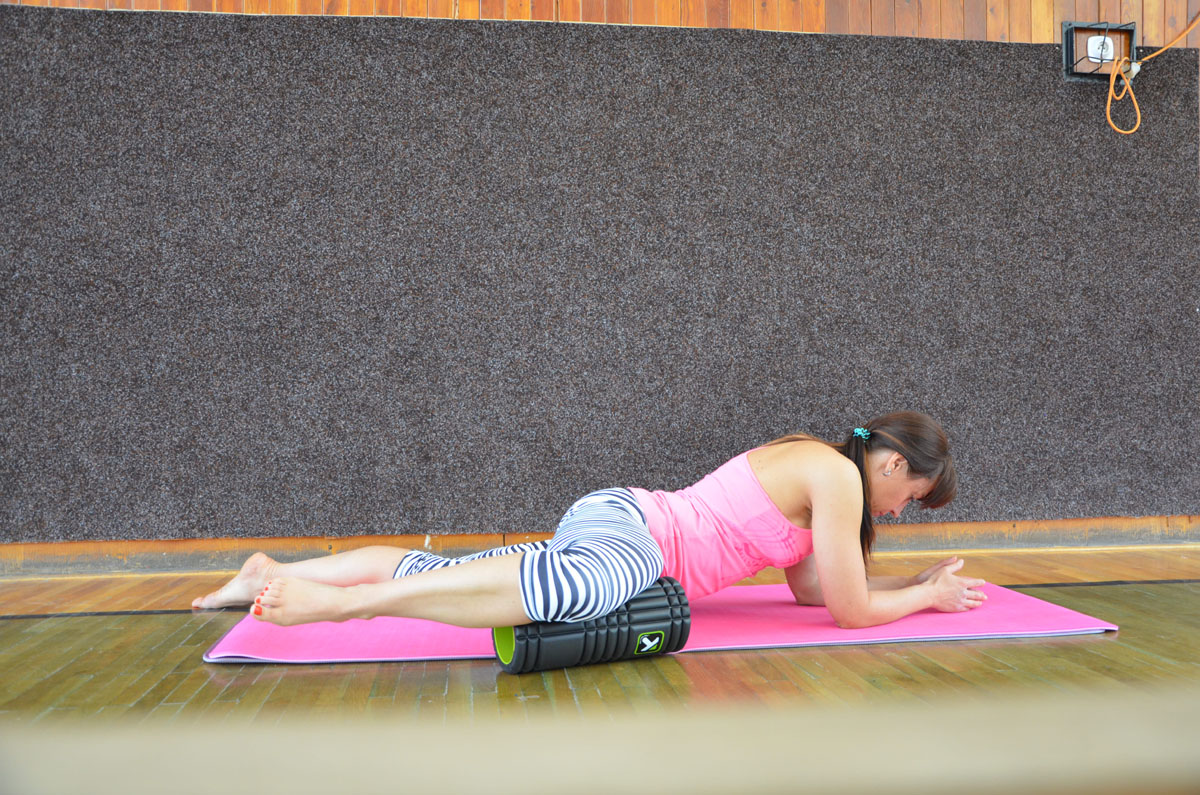 photo 20
 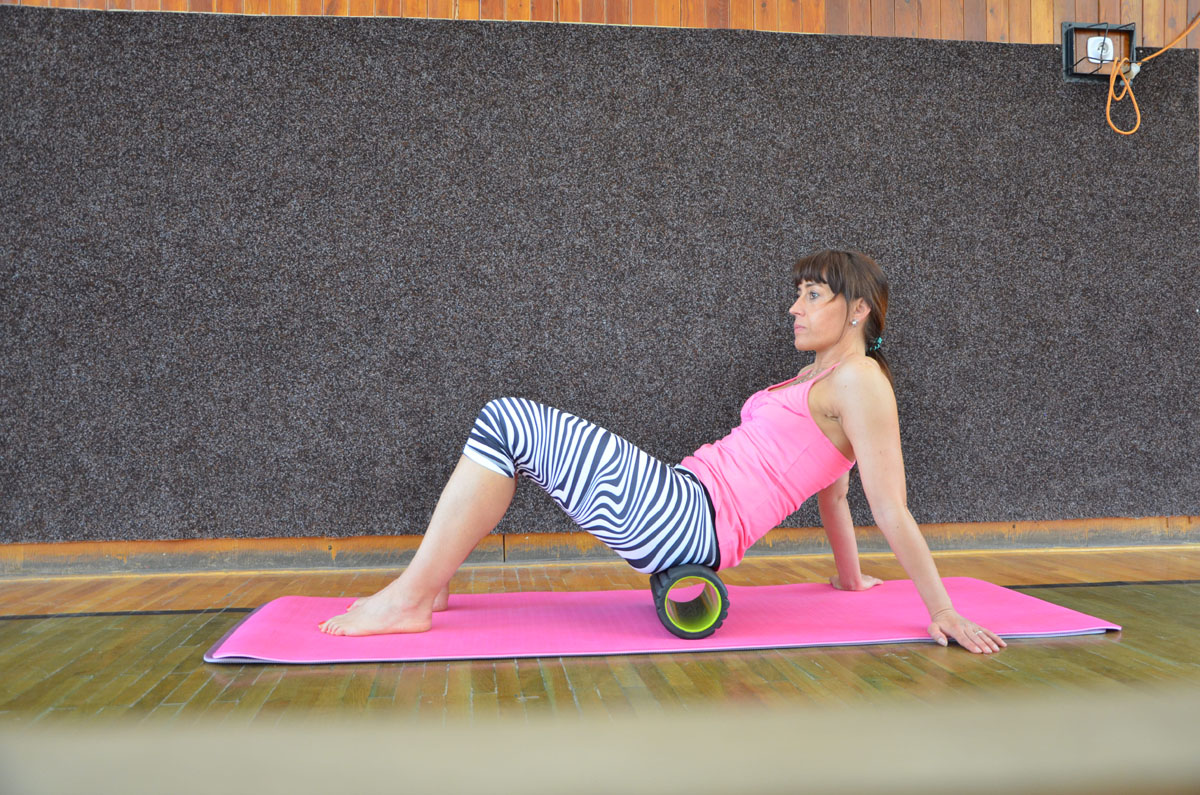 photo 21
 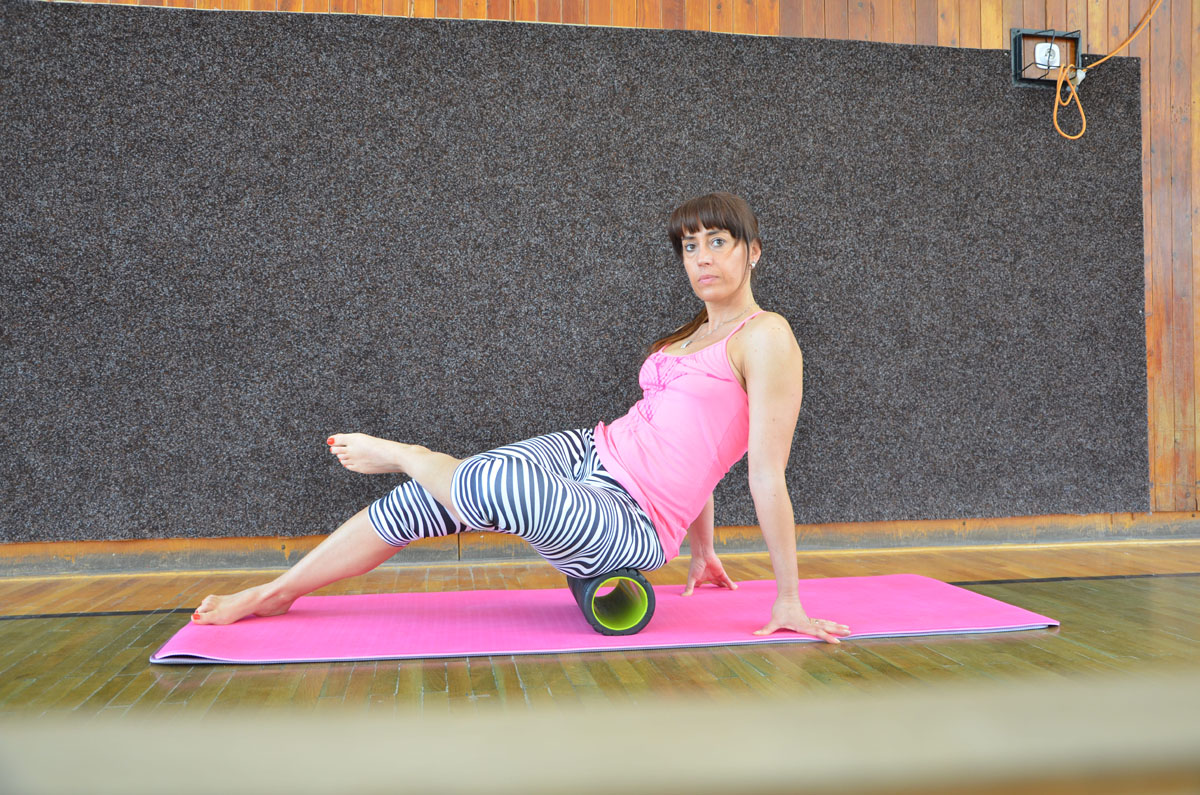 photo 22
 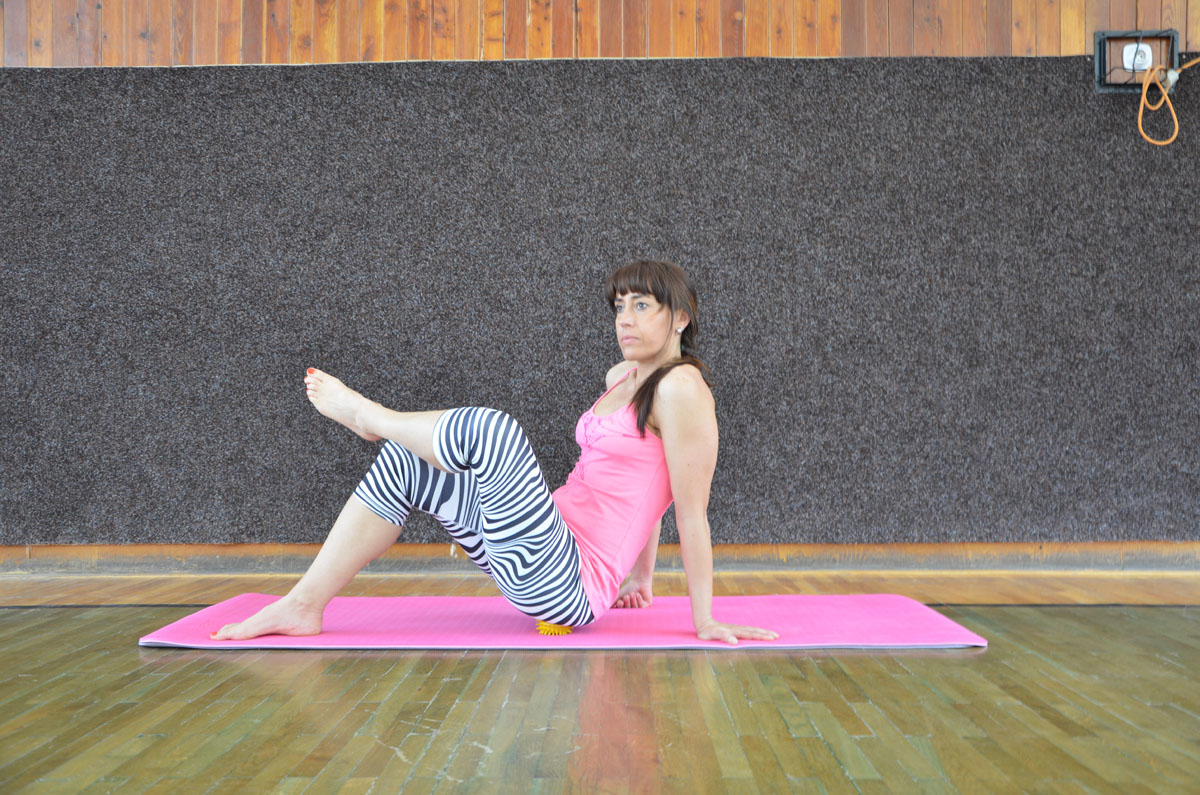 photo 23
 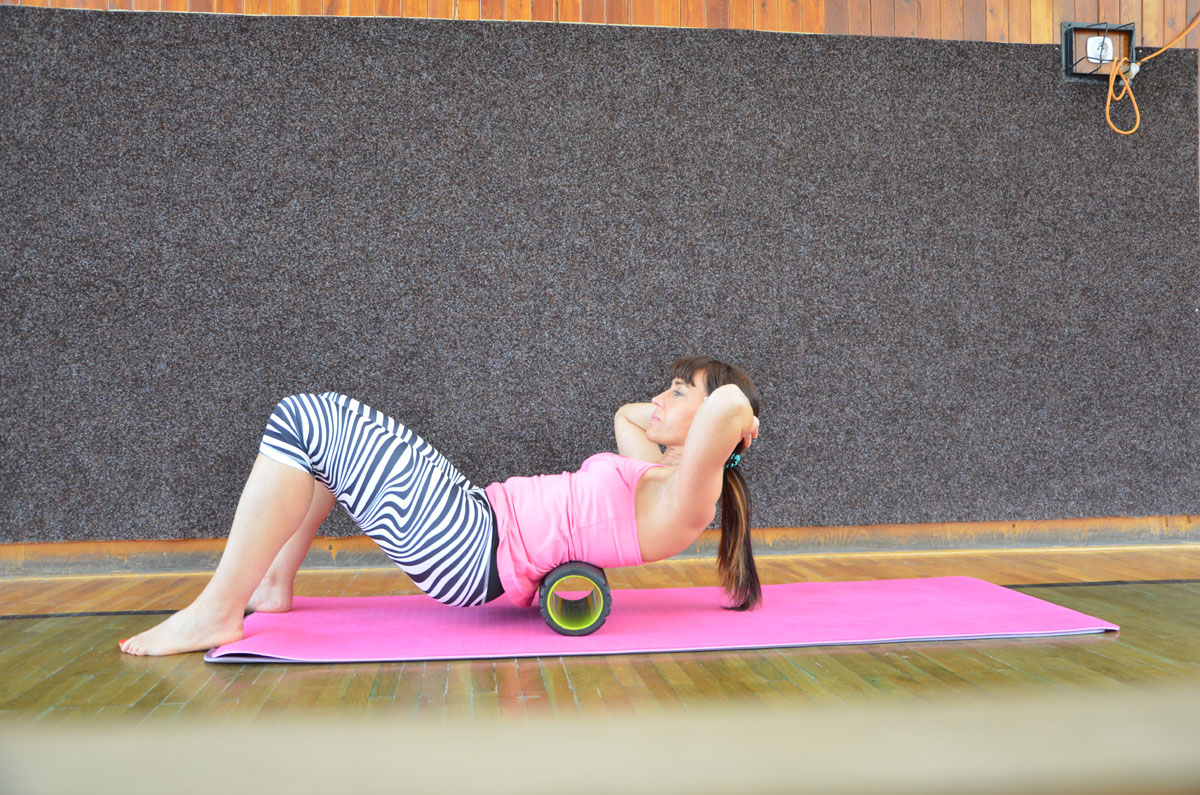 photo 24
  photo 25
 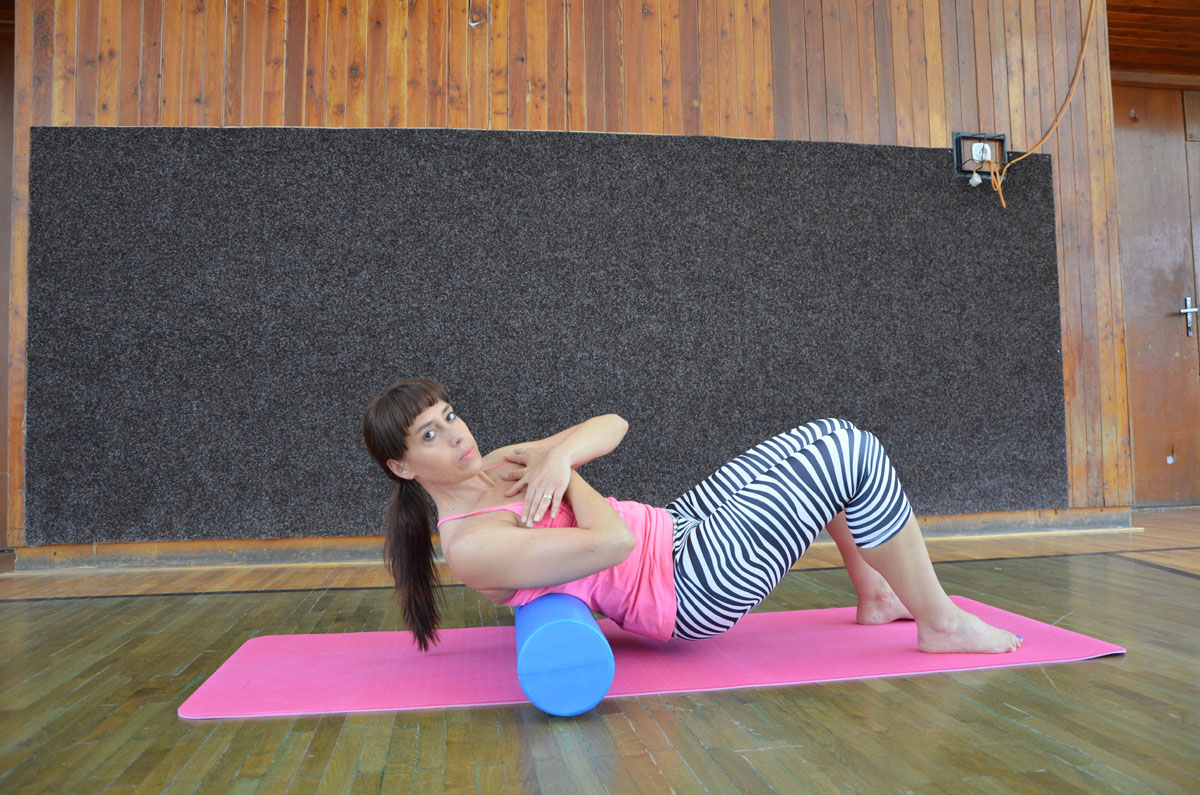 photo 26
 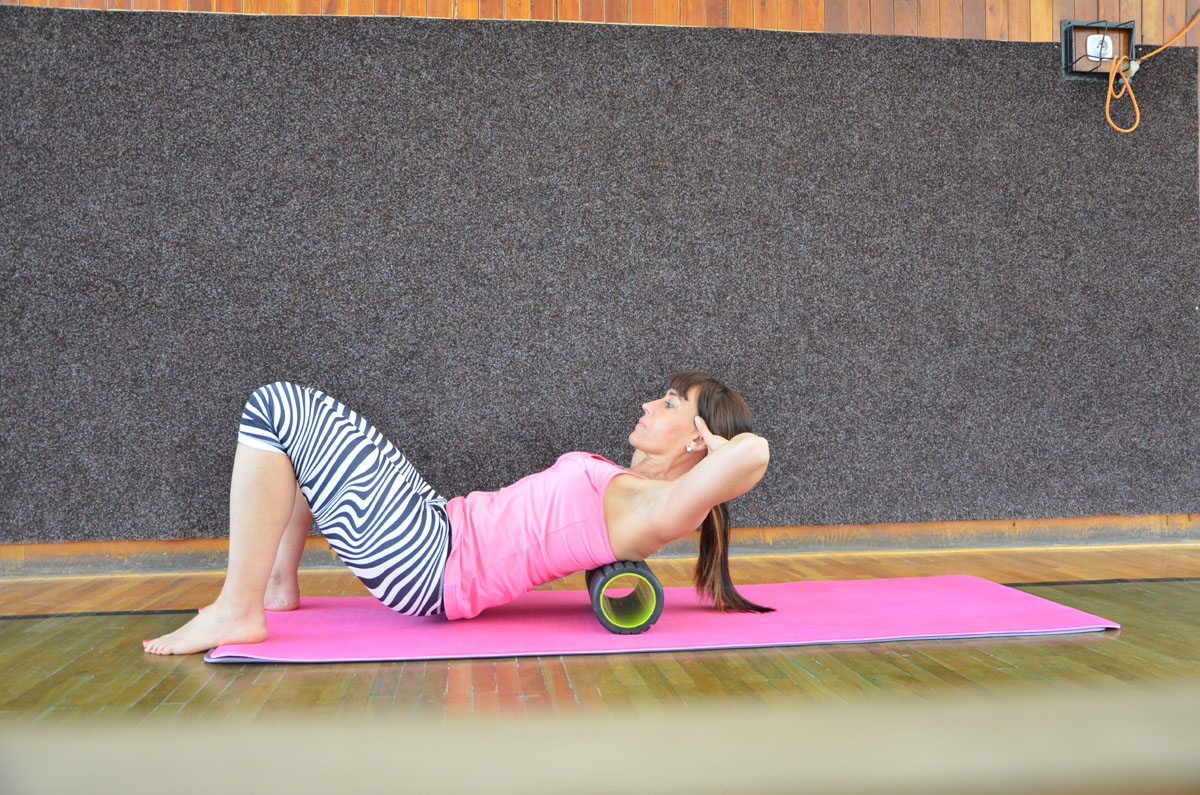 photo 27
 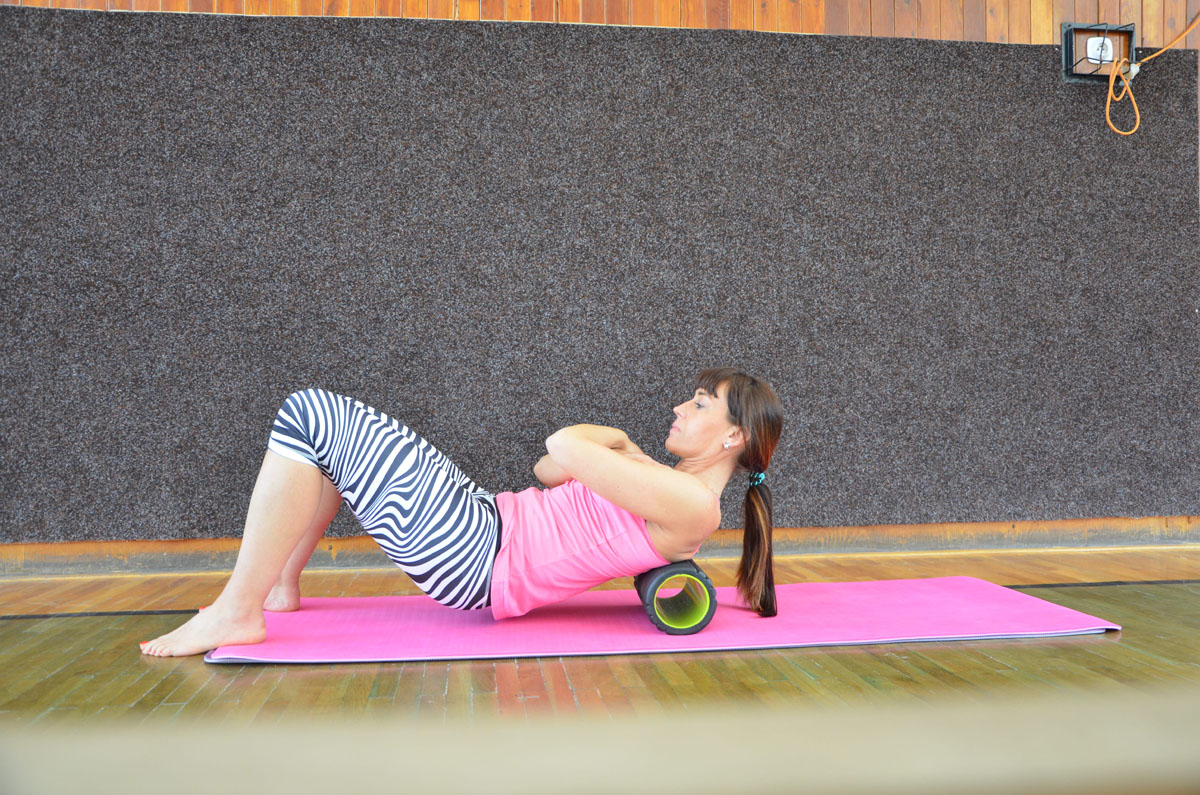 photo 28
 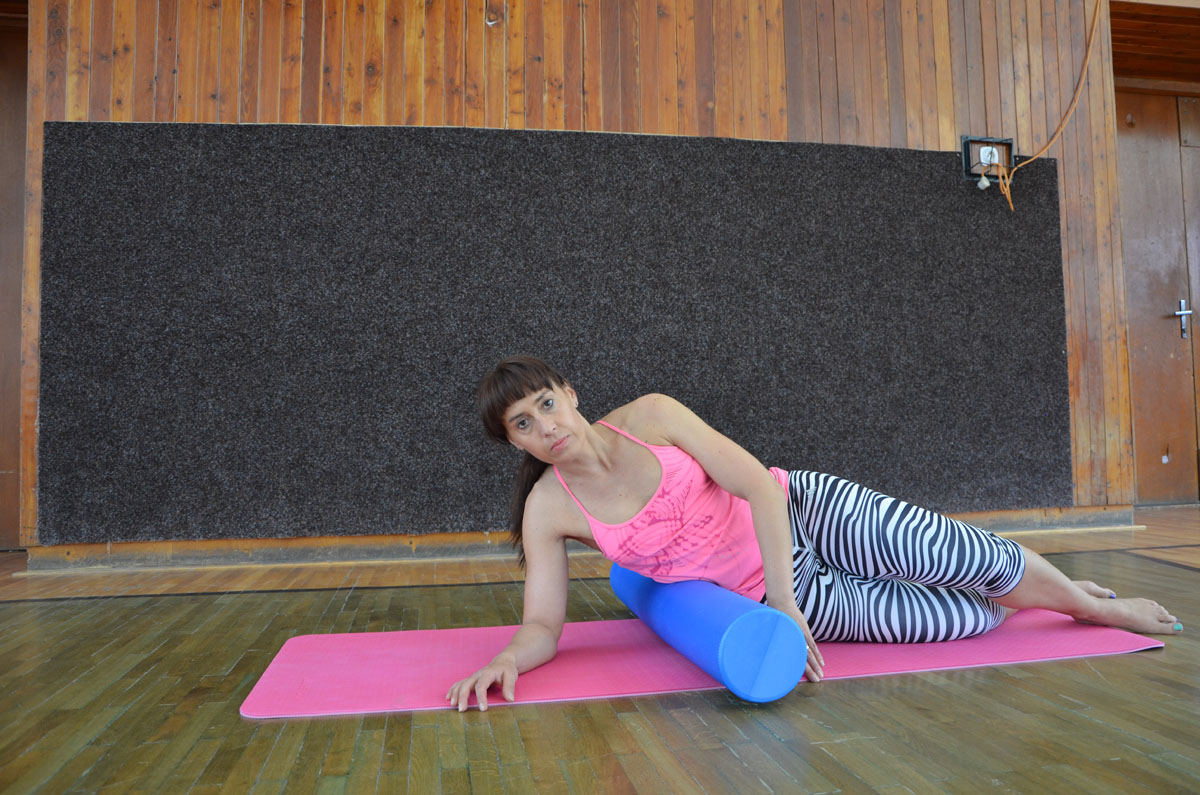 photo 29
 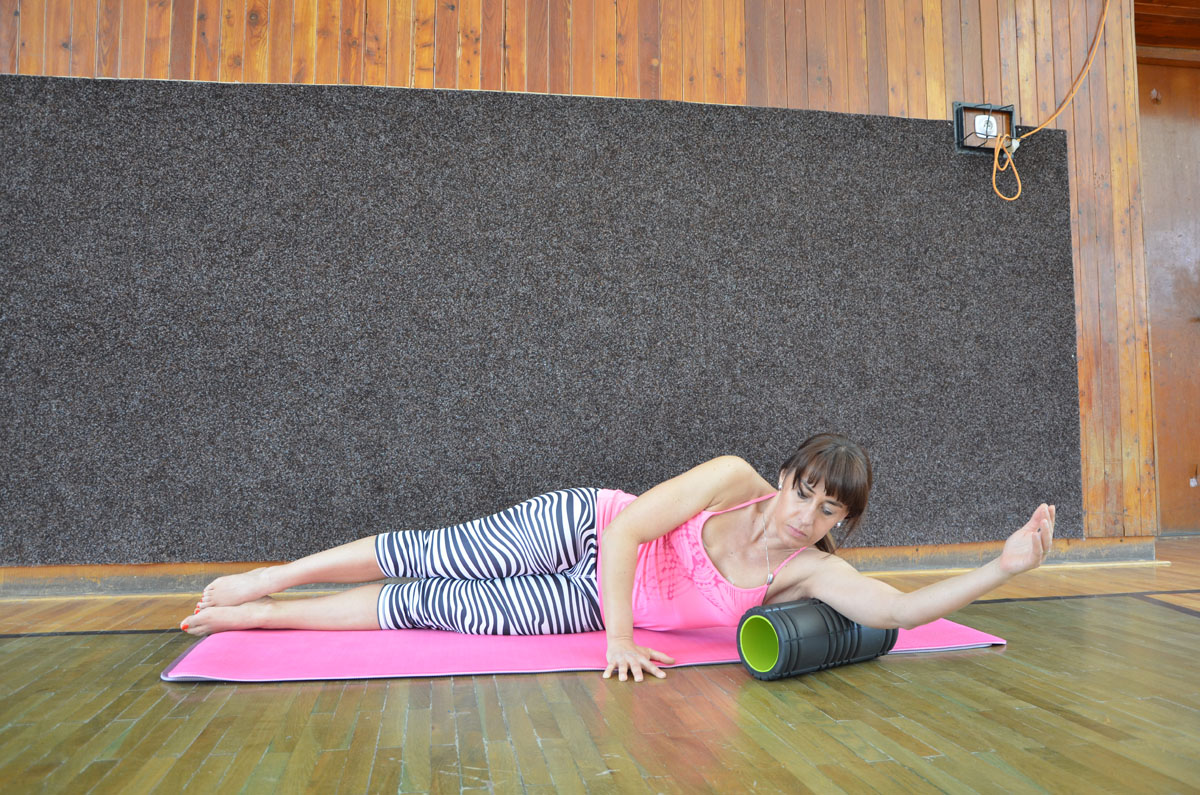 photo 30
 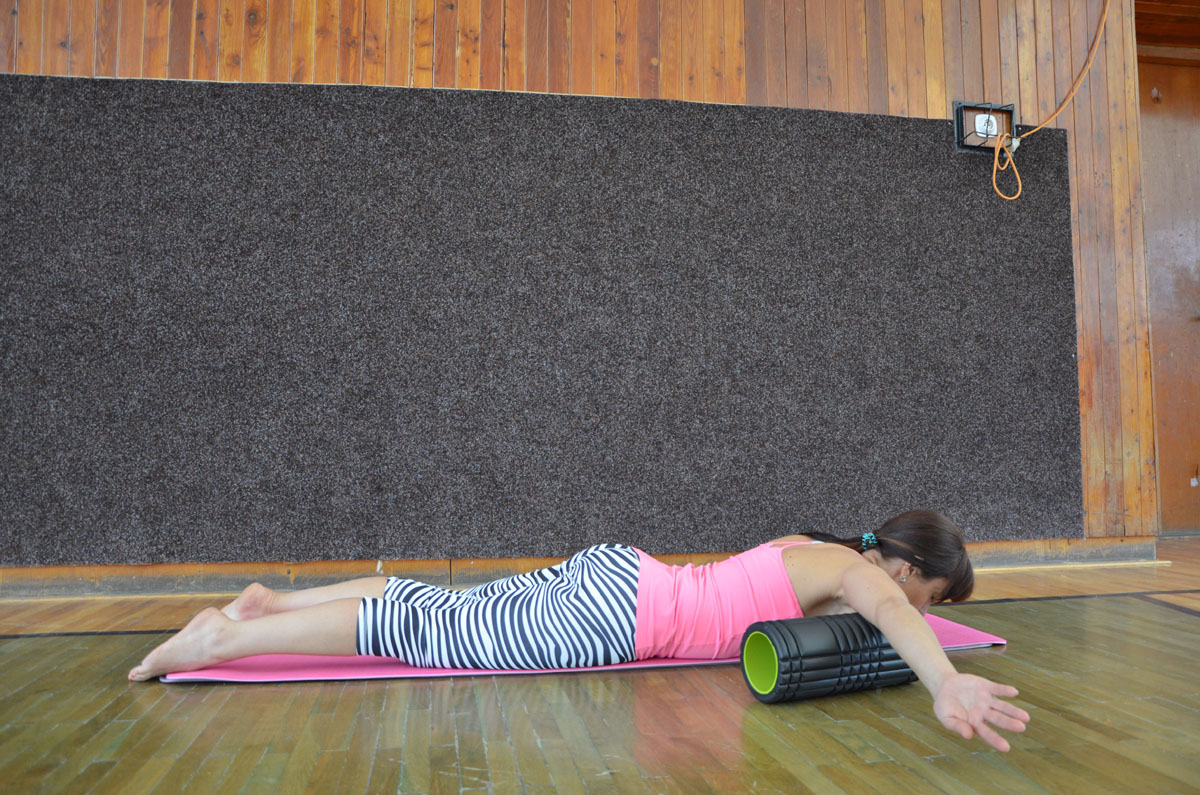 photo 31
 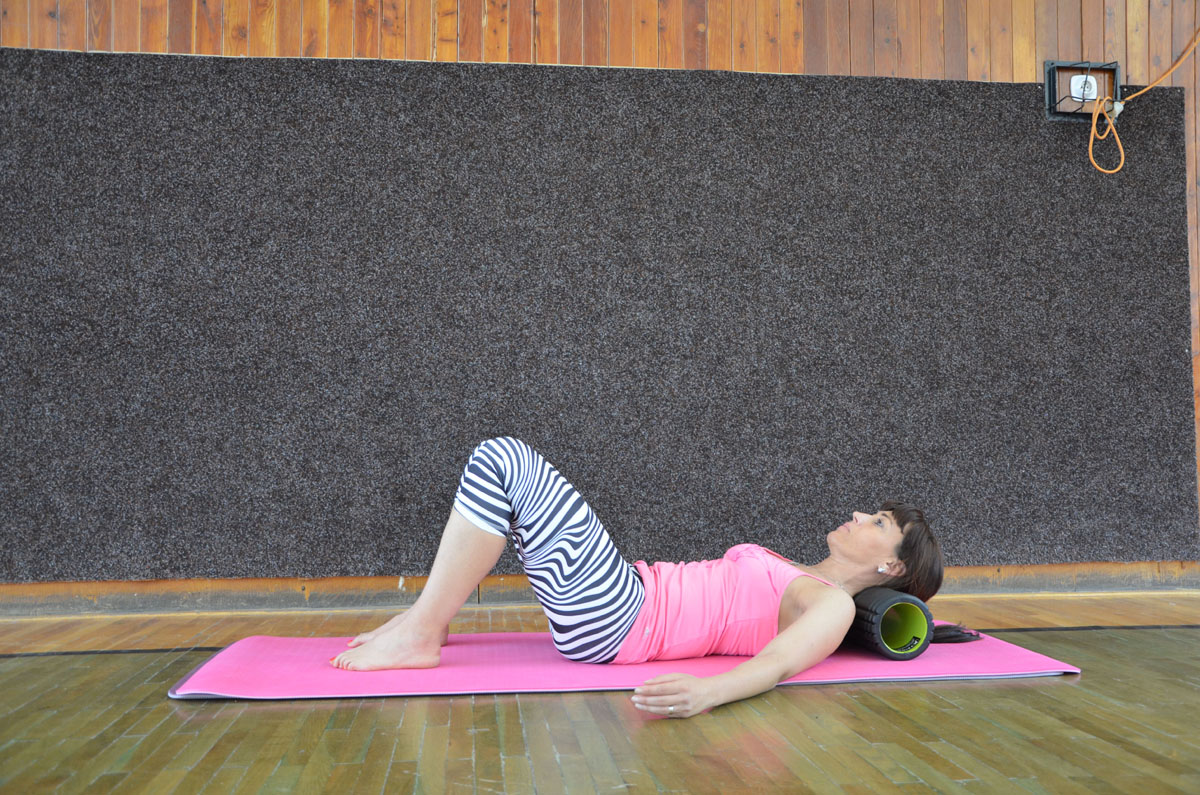 photo 32
 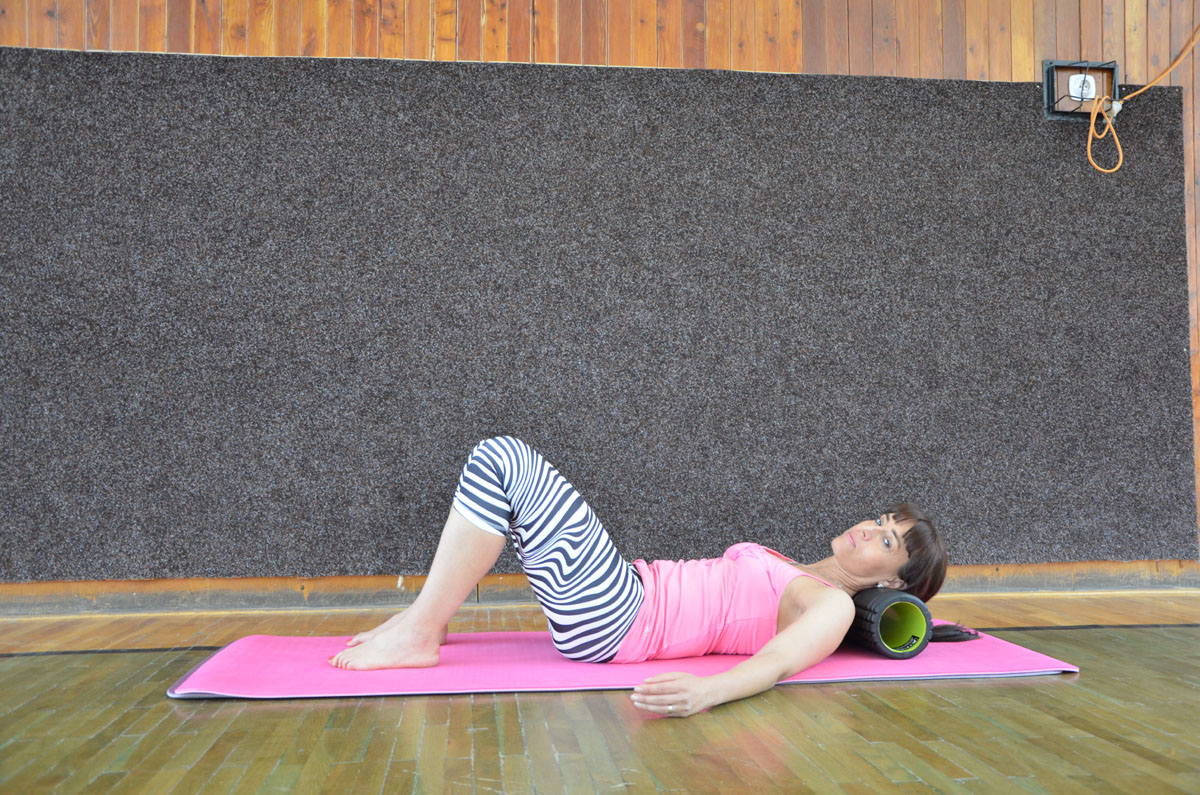 photo 33
 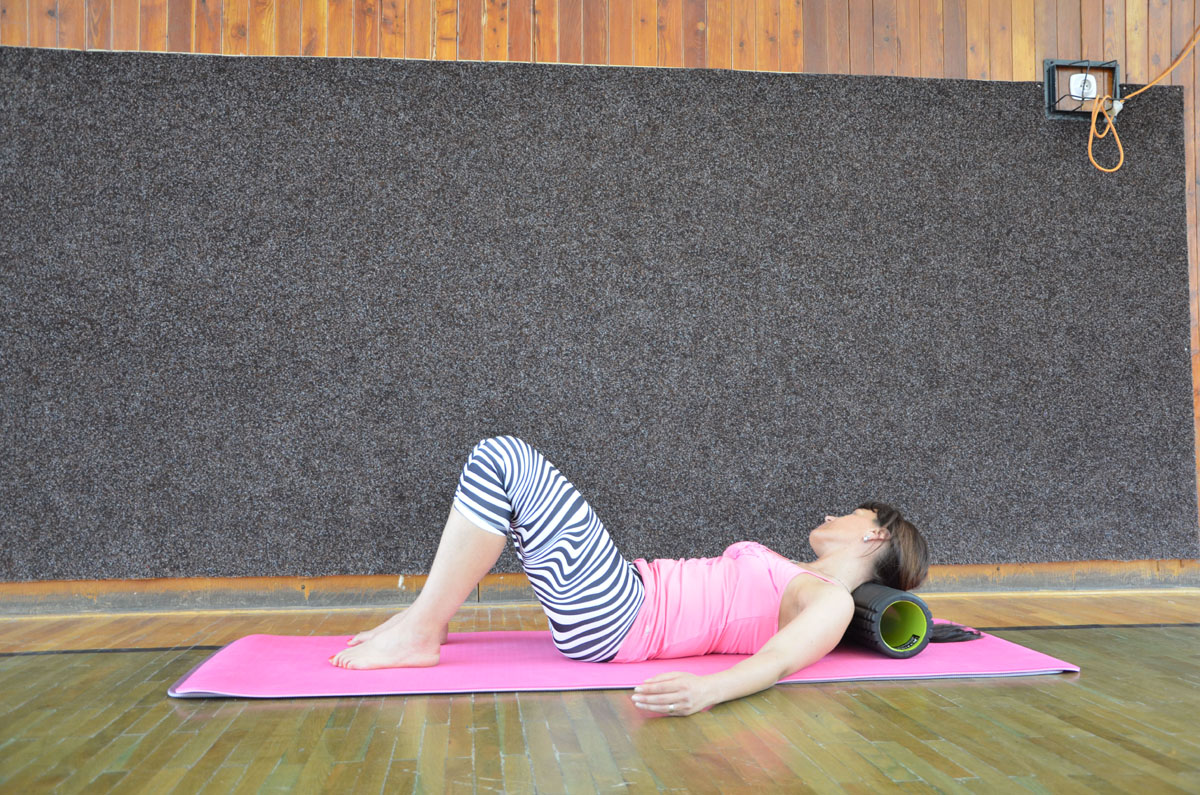 photo 34
 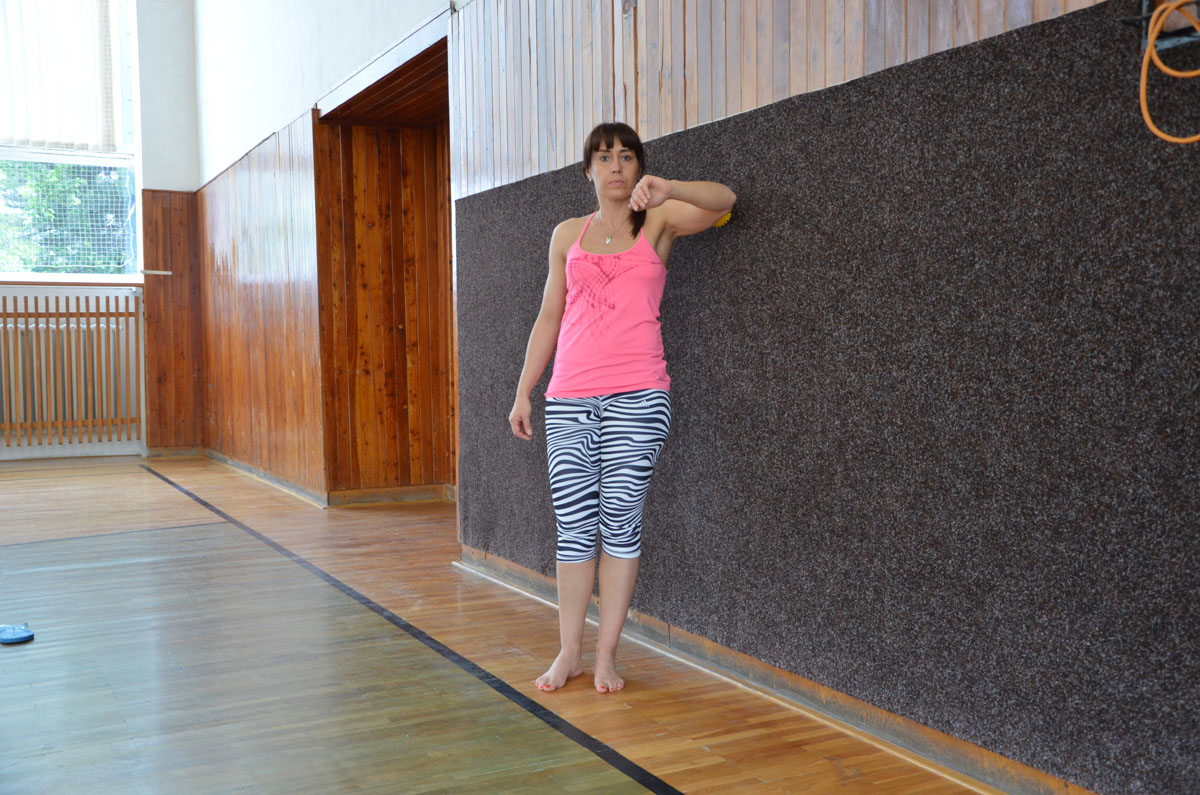 photo 35
 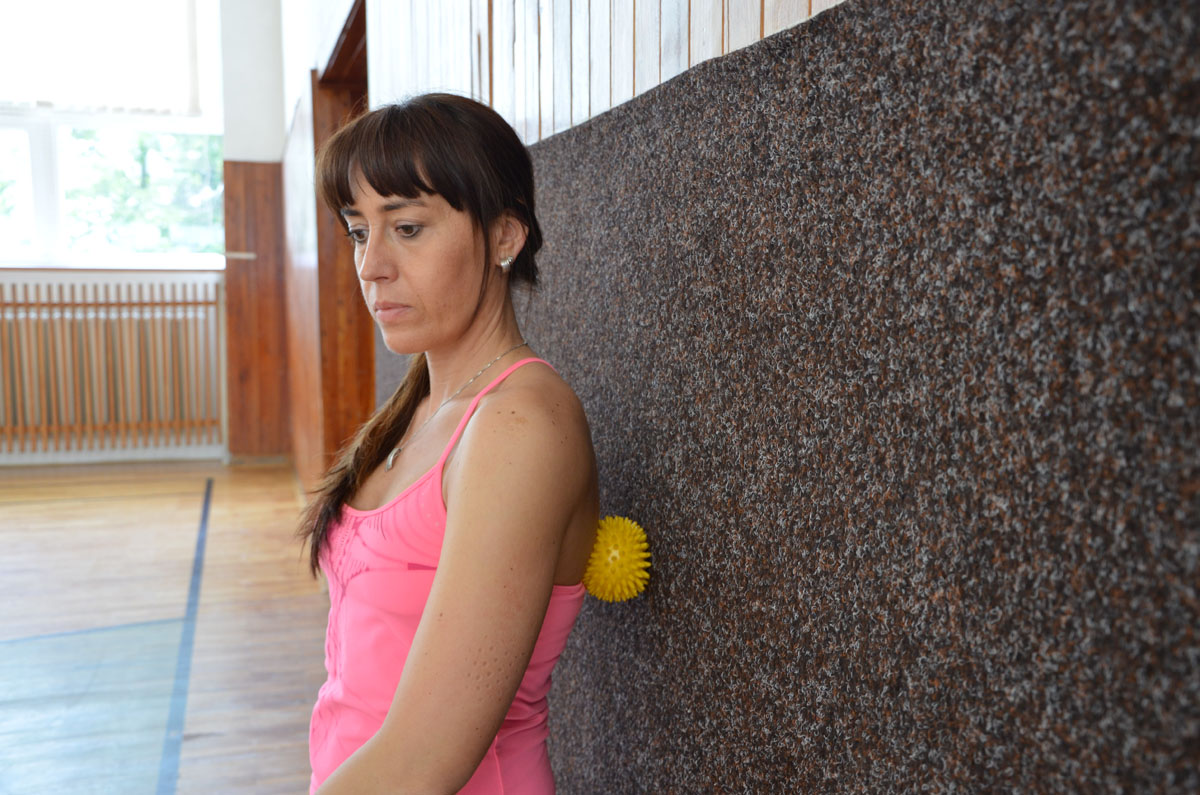 photo 36
